Getting Started
Installation
This small guide will help you get your new plugin up and running in just a few minutes.
First of all, you need to download the plugin file and unzip it (if you're reading this, you've probably done so already). Now you need to do one of the following:
- Option A:
- In the WordPress administration panel, open the "Plugins -> Add new -> Upload" page.
- Select and upload the "theia-smart-thumbnails.zip" file.
- Option B:
- Unzip the "theia-smart-thumbnails.zip" archive into your WordPress plugins folder (located at "/wp-content/plugins/").
- Open your browser and go to your WordPress admin panel.
- Open the "Plugins -> Installed plugins" page and activate the "Theia Smart Thumbnails" plugin.
Smart Thumbnails for New Images
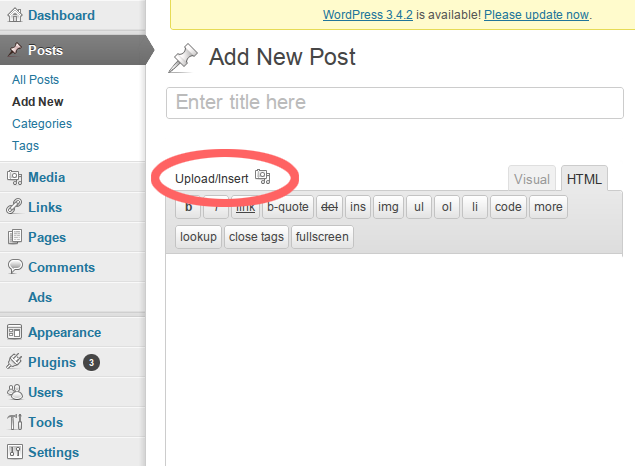
You can customize the thumbnails of an image directly after upload. First, open the "Add New Post" page in the WordPress admin panel, or edit an existing post. Then, click on the "Upload/Insert" button.
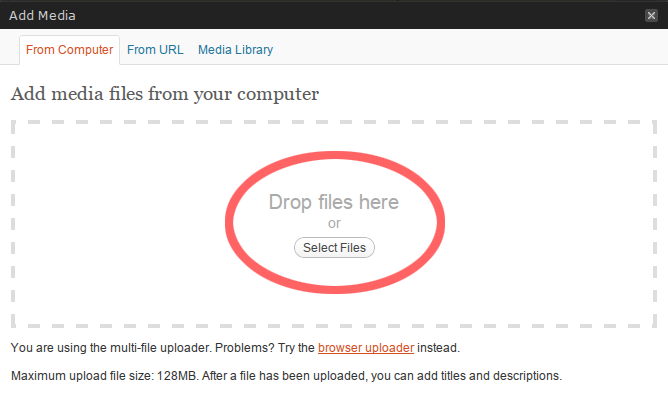
The "Add Media" window will now be displayed. Upload your image by drag and dropping the file or clicking on the "Select Files" button.
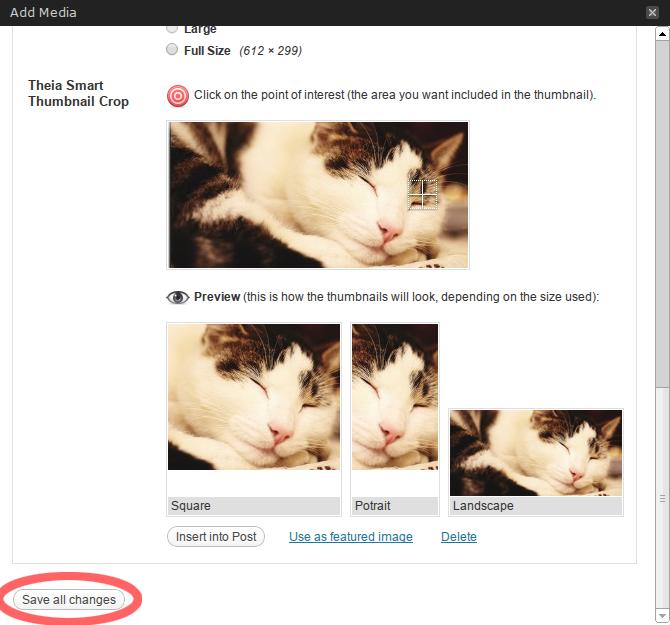
After uploading your image, scroll down to the "Theia Smart Thumbnails Crop" section.

Here you can see the original image that you have uploaded and 3 thumbnail previews of different sizes (square, portrair and landscape). The size of your final thumbnails may vary depending on your theme.
You can click anywhere on your image to select the point of interest. This is the area that will be included in the thumbnails. By default, it is located in the center of the image.
Suppose you want to focus the thumbnails on the cat's head. All you have to do is click on the right side of the image until the thumbnails are correctly aligned. After you've finished, click on the "Save all changes" button.
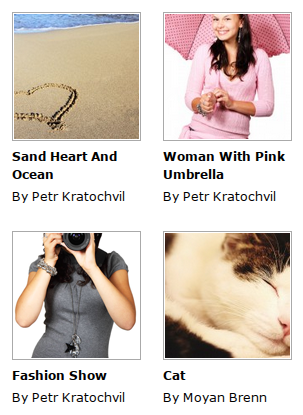
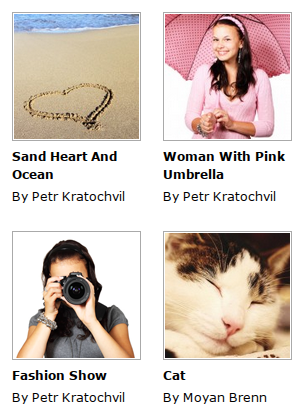
Now you can browse your website and check out the newly created thumbnails. Here is a sample before (using the standard WordPress thumbnails) and after (using Theia Smart Thumbnails):
Smart Thumbnails for Existing Images
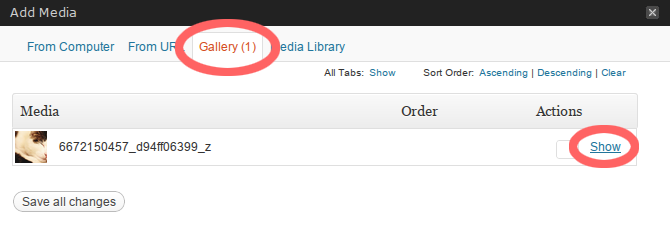
You can also customize the thumbnails of an existing image. In the admin panel, open the edit page of the post that contains the image. Just like when adding a new post, click on the "Upload/Insert" button. In the "Add media" window that has opened, click on the "Gallery" tab which contains a list of the existing images attached to the post. Click on the the "Show" link of the image you want to edit. Finally, customize the point of interest as explained in chapter B) Smart Thumbnails for New Images..
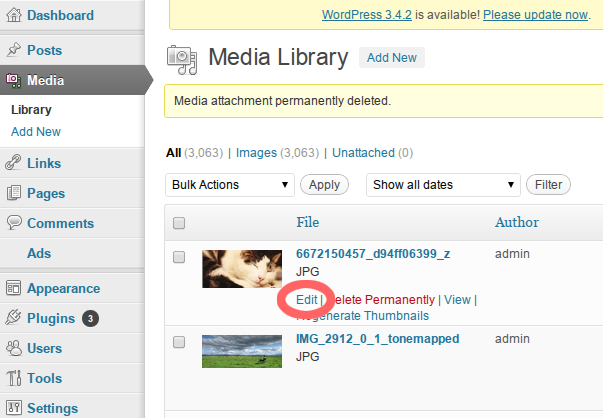
You can also customize existing images from the Media Library in the admin panel. Locate the desired image and click on "Edit". Again, you can customize the point of interest as explained in chapter B) Smart Thumbnails for New Images..